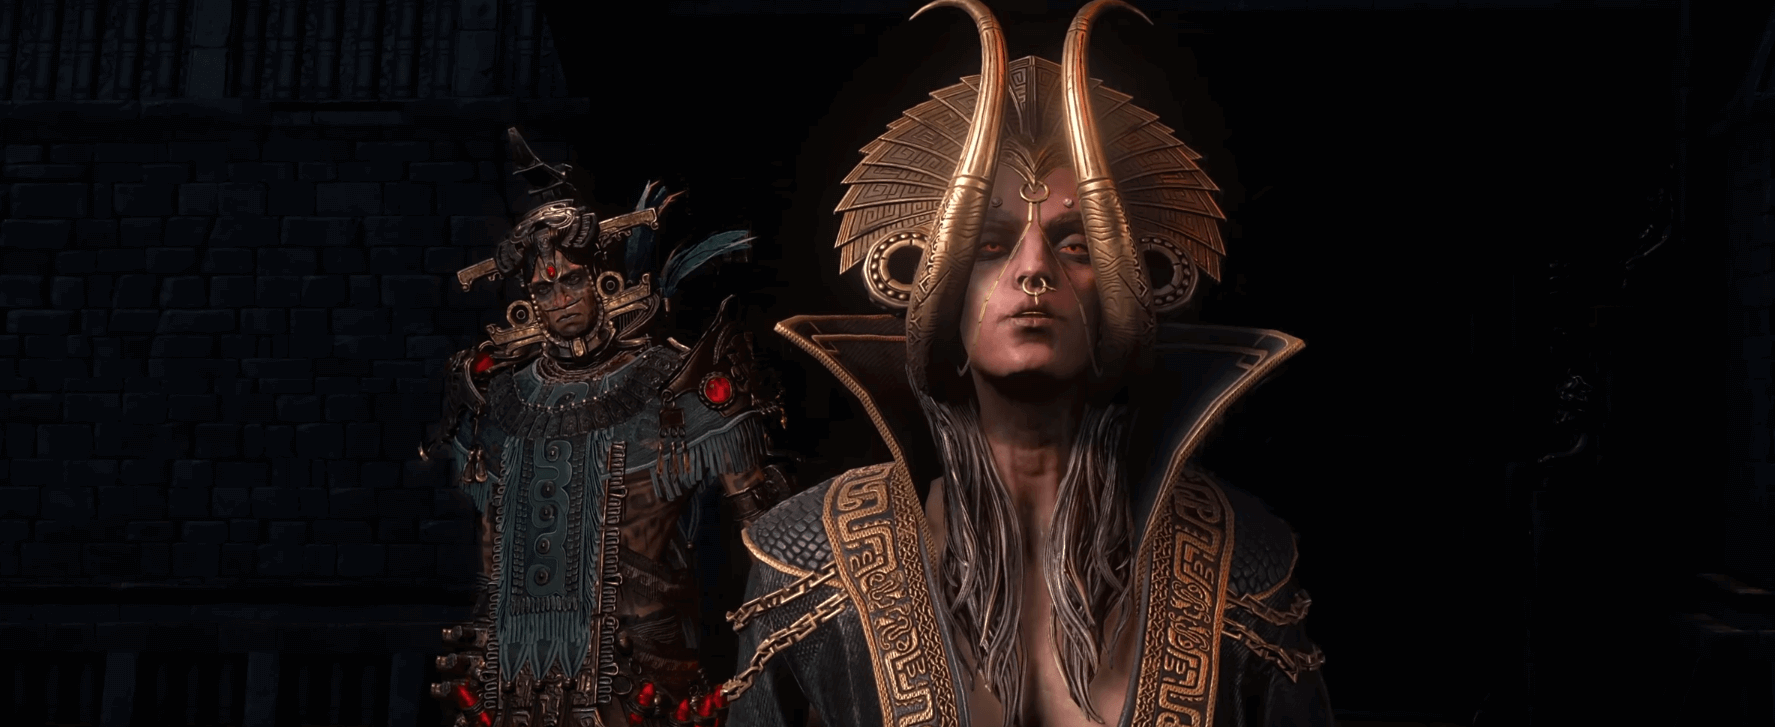
Path of Exile 2 Act 1 Boss Complete Mastery Guide
Last updated on December 10, 2025 by MMOJUGG Team | Game: Path of Exile 2 Guide | Tags: Fate of the Vaal
Path of Exile 2 campaign ramps up the intensity right from Act 1, especially in patch 0.4.0's The Last of the Druids update during Fate of the Vaal League. Boss encounters demand sharp reflexes, smart positioning, and gear tuned to their damage profiles. Red flashes paired with audio cues signal unblockable strikes—roll away immediately to survive. This breakdown equips you with phase transitions, core patterns, and counters to turn these fights into smooth victories.
If you're pushing through the league's fresh economy, bookmarking this for reference can save clutch moments, and swinging by our Path of Exile 2 Shop for Divine Orbs, Exalted Orbs, crafting currencies, rares, uniques, and more keeps your build humming without the grind.
Path of Exile 2 Boss Mastery Guides
To assist Exiles in successfully advancing across the new continent of Wraeclast, we have compiled essential Boss Mastery Guides for every Act and Interlude in Path of Exile 2. Below is the complete list of Boss Mastery Guides:
Act 1 Boss | Act 2 Boss | Act 3 Boss | Act 4 Boss | Ogham Interlude | Kriar Interlude | Vastiri Interlude
Path of Exile 2 Act 1 Boss Overview
Boss Name | Zone | Key Tips |
|---|---|---|
Biera of the Rotten Pack | Clearfell | Prioritize cold resistance. Lure summoned wolves into her own Frost Sigils for easy clears. Stand in gaps during Ice Nova spike launches. |
The Devourer | The Mud Burrow | Hide behind burrowed body segments to block poison spits. Dodge glowing Head Slam and emerging Tail Sunder trails promptly. |
The Brambleghast | The Grelwood | Destroy summoned vines before homing orbs spawn. Burst away from Volatile Slam purple vines to avoid lethal chaos damage. |
The Rust King | The Red Vale | Cap lightning resistance early. Clear Ezomyte warrior adds quickly during army summons to prevent overwhelms. |
The Rotten Druid | The Grim Tangle | Skirt the central chaos pool and exploding mushrooms. Roll on rock toss arm windup; evade wide Slam teleport circles. |
Draven, the Eternal Praetor | Mausoleum of the Praetor | Destroy drifting souls away from graves to block Eternal Knight spawns and empowers. Focus knights despite projectile reflects. |
Asinia, The Praetor's Consort | Tomb of the Consort | Shatter bone cage walls immediately to escape shard rain. Deny soul absorbs to skip arena-wide mortar blasts. |
Lachlann of Endless Lament | Cemetery of the Eternals | Flask through spirit-induced hinders. Dodge forward-expanding Sunder cone—major one-shot threat. |
The Crowbell | Hunting Grounds | Full-commit dodges on Leap Slam and multi-slams during enrage (85-45% health). Adapt to arena shifts at phase changes. |
The King in the Mists | Freythorn | Minimize non-dodge movement on red ritual marks; constant motion on purple. Burst fragile affliction totems in phase 1. |
The Executioner | Ogham Village | Clear periodic Decrepit Mercenary waves peripherally. Gesture signals Guillotine Drop—evade the blade zone. |
Candlemass, the Living Rite | Ogham Manor | Stack fire resistance. Track and dodge charging Flame Slash arcs and volleying Flame Mortars. |
Count Geonor | Ogham Manor | Sidestep Charge to avoid impale; roll through Frost Cage walls. Listen for poem lines cueing fog leaps in phase 2. |
Biera of the Rotten Pack: Taming the Frozen Pack Leader
Found in Clearfell, this wolf mistress blends physical slams and chilling blasts. Stack cold resistance early—fire damage shreds her defenses.
She opens with close-range sickle sweeps and homing ice shard volleys, plus wide frontal cone bursts. Stay mobile to avoid clusters.
At 80% health, expect escalating threats:
Corpse detonations near you spawn piercing ice from fallen wolves—kite away from bodies.
Wolf summons rise from the earth, five at a time—clear them fast to limit adds.
Ground sigils pulse before spiking upward; they harm her own wolves too, so lure packs into them.
Ring of spikes encircles her, then radiates outward—spot and hug the gaps for safety.
Key Ability | Visual Cue | Survival Tip |
|---|---|---|
Ice Nova | Spike ring forms around boss | Position in gaps before launch |
Frost Sigils | Small circular telegraphs | Sidestep eruptions; use vs. wolves |
Victory yields the Head of the Winter Wolf, granting permanent +10% cold resistance—a campaign must-have.
The Devourer: Navigating the Burrowing Horror
This Mud Burrow dweller in the depths hits with physical and chaos, favoring poison pools and summons.
Baseline: Tendril sweeps up close, ranged spit globs. Head Slam (dodge required) glows green along its body—evade the slam and 180° vomit spray.
From 80%:
Burrows repeatedly, shedding body segments in the outer ring.
At 75%:
Emerges with larva spawns and poison clusters—hide behind shed segments.
Tail Sunder (dodge) erupts from oldest segment, trailing spikes and larvae; back off if too near for sweeps.
At 30%:
Head pivots, unleashing clockwise 180° poison bolts.
Phase Transition | New Threats | Counterplay |
|---|---|---|
80% Burrow | 4x repositions, body parts | Track emergence spots |
75% Eruption/Tail | Larvae, poison lines | Block spits, dodge trails |
Positioning behind remnants neutralizes much of its kit.
Brambleghast: Shredding the Thorned Behemoth
Grelwood's tangled terror deals physical and chaos via sweeping limbs and explosive growths.
Core moves: Dual-arm sweeps either way, lunging chomps. Vine Slam sends a shattering line your way.
90% introduces Volatile Orb: Pulled from its maw, it spirals projectiles clockwise until wall-crash, then omnidirectional burst—keep distance.
85% ups the ante:
Volatile Slam roots arms, summoning slamming purple vines nearby—massive chaos hit, potentially lethal.
Vine trio erupts close; slay them before they lash.
70%: Six vines spawn rapidly, each birthing homing orbs that detonate.
High-Damage Move | Telegraph | Evasion |
|---|---|---|
Volatile Slam | Arms plant, roar | Burst away from vines |
Volatile Vines | Arm plant + roar | Kill vines, dodge orbs |
Prioritize adds; chaos mitigation is key.
Rust King: Dismantling the Shard Sovereign
Red Vale's mechanical tyrant wields physical and lightning through jagged barrages.
Persistent: Left-hand swipes, tracking shard line from right hand.
90%: Sword circle channels, then explodes outward.
75%: Shard volley launches from behind him.
65%: Lightning ring summons Ezomyte warriors.
50%: Whip morphs right hand for dual slashes, capped by amplified volley.
Summon Phase | Adds Spawned | Priority |
|---|---|---|
65% Army | Many Ancients | Focus boss, AoE adds |
Lightning resist caps its spikes; circle awareness prevents overlaps.
Rotten Druid: Evading the Corrupted Rootmaster
Grim Tangle's arena features a central chaos pool and proximity-exploding fungi—circle the edges.
Physical/chaos attacker with arm swipes and triple ground-burst projectiles at range. Instant teleport on first hit (cooldown-bound).
90%: Tracking projectile barrage.
85%: Slam circles wide, then drops staff—caught inside? Teleport to pool doom.
75%: Staff channel summons seven slamming roots, leaving bomb shrooms.
60%: Rock Toss (dodge)—arm windup signals roll timing.
Environmental Hazard | Trigger | Avoidance |
|---|---|---|
Mushrooms | Close approach | Perimeter pathing |
Pool Teleport | Slam circle | Stay outside ring |
Staff animations predict big moves.
Draven, Eternal Praetor: Breaking the Soul Guardian
Mausoleum of the Praetor hosts this physical/fire swordmaster. Souls drift to him; absorb over graves spawns reflecting Eternal Knights (projectile mirrors while blocking; souls near corpses revive them). Three absorbs empower him—speed and power surge.
Basics: Heavy sword hacks, lunging reacher. Triple combo (quad empowered). Soul Slash arcs 180° waves (doubled empowered).
75%: Sunder (dodge)—stomp lines expand post-delay.
65%: Specter Asinia channels escalating circles.
Empower Mechanic | Trigger | Response |
|---|---|---|
Soul Absorb x3 | Destroy spirits on graves | Interrupt with knights |
Knight control prevents escalation.
Asinia, Praetor's Consort: Shattering the Bone Reaper
Tomb of the Consort mirrors Draven's soul play—absorbs trigger arena-wide mortar blasts. Knights behave identically.
Scythe sweeps close, conal ground rips afar. Triple combo. Sigil quartet (small to large) erupts delayed. Teleport rear with hinder AoE + dual sweeps.
75%: Bone Cage traps you for raining shards—shatter a wall to break free.
65%: Draven specter sweeps 180° projectiles.
Debuff Trap | Duration | Break Method |
|---|---|---|
Hinder Teleport | 5s, 30% slow | Anticipate rear jump |
Bone Cage | Seconds to shards | Wall destruction |
Soul denial starves her bursts.
Lachlann of Endless Lament: Chilling the Spectral Crusher
Cemetery of the Eternals' physical/cold brute.
Right swipe, dual mace spins. Front/back mace slam. Triple spirit line leaves chill trails (2s hinder on hit).
85%: Hand-out spirits underfoot slam after delay, more chill (1s hinder).
75%: Ground stomp births chasing burrower for spiral assault.
Sunder (dodge): Forward cone eruption—gear-dependent one-shot.
Spirit Variant | Chase Type | Ground Effect |
|---|---|---|
Shoot/Eruption/Stomp | Line/Under/Stalk | Chill trails/debuff |
Hinder resist or flasks counter slows.
Crowbell: Outlasting the Multi-Arena Brute
Hunting Grounds' physical-only goliath shifts arenas at 85% (enrage till 45%) and 45% (bell pickup).
Easy arm swipes, bell slam shockwaves. Slam (dodge) frontal. Leap Slam (dodge) aerial pound.
50%: Roaring multi-slam barrage.
25%: Dual orbiting bell swings while advancing.
Arena Shift | HP Trigger | Buff Applied |
|---|---|---|
First | 85% | Enrage (damage up) |
Second | 45% | Bell equipped |
Enrage fades mid-fight; dodge commitment wins.
King in the Mists: Mastering Dual-Phase Rituals
Freythorn's physical/chaos ritualist goes immune at 25%, healing into Phase 2.
Phase 1: Single shots, melee Slam (dodge), conal purple vines, teleports, damaging blood pools. 95%: Fragile affliction totems ramp DoT—burst them. 75%: Red mark (move = 4s root/stun), purple (still = same)—minimal motion for red, constant for purple (4s each).
Phase 2: Triple shots, kicks, staff melee, same Slam. Central totem births outward bug swarms (chaos DoT). Bug Orb (dodge) homes, grounds into exploding blisters. Rituals extend to 8s.
Ritual Type | Mark Color | Rule to Avoid Root |
|---|---|---|
Meditation | Red | Limit non-dodge moves |
Dance | Purple | Perpetual motion |
Gembloom Skull drops: +30 Spirit + uncut Spirit Gem.
Executioner: Surviving the Axe Executioner
Ogham Village's physical/fire chopper summons Decrepit Mercenaries and Crowbowmen increasingly.
Slow axe sweeps, arm sweep, frontal kick.
90%: Sunder (dodge) linear shatter, charged Slam (dodge) erupts fire ring, Leap Slam trails sunder + 180° follow-up.
80%/40%: Mass merc waves.
75%: Guillotine (dodge)—gesture drops blade zone.
Add Waves | HP | Add Types |
|---|---|---|
Heavy Calls | 80%, 40% | Mercenary swarms |
Adds ramp; clear peripherally.
Candlemass, Living Rite: Quenching the Flame Zealot
Ogham Manor's physical/fire swordsman.
Sword swings. Flame Slash (dodge) charges overhead for circling arc.
90%: Leap Slam shatters line, Fire Breath (dodge) tracks cone.
75%: Flame Mortar (dodge) volleys exploding orbs.
Fire resist and mobility dominate.
Count Geonor: Conquering the Werewolf Lord
Ogham Manor's two-phase physical/cold shapeshifter (50% Phase 1 shift post-roleplay first run).
Phase 1: Triple sword combos. Frost Stab (dodge) shoots ice. Charge (dodge) impales/stuns to wall or half-arena sweep. 90%: Frost Cage (dodge)—cone walls + shatter slam; roll through. Wolf sigil freezes 5s on step; channels blood globes for exploding werewolf pack (some burst on death), frontal orb jumps, teleport slam on marked spot.
Phase 2 (30%+ blood moonbeams): Dual claymore, lunge bite, arm swing. 180° rear sweep. Frost patches spike delayed—gaps safe. Quad moonbeams predict movement (Corrupted Blood stacks). Teleport slam. Fog blankets arena (cold DoT), werewolf summons, poetic line-cued leaps. Frost breath shards. Blood moonbeams corrupt.
Form Shift | Abilities Gained | Key Weakness |
|---|---|---|
Wolf (P1) | Pack/orbs/slam | Sigil avoidance |
Phase 2 Fog | Leaps on cues | Audio dodge rolls |
Poem lines telegraph fog pounces.
FAQs on Path of Exile 2 Act 1 Bossens
What resistances should I prioritize for Act 1 bosses in PoE2 0.4?
Focus on cold resistance for Biera of the Rotten Pack, Lachlann of Endless Lament, and Count Geonor—their freezes and spikes hit hard early. Stack chaos resistance against The Devourer, Brambleghast, Rotten Druid, and King in the Mists to survive DoTs and eruptions. Fire resistance counters Draven, Asinia, Executioner, and Candlemass sweeps and breaths. Cap lightning resistance for Rust King's barrages. Physical damage is everywhere, so layer armor, evasion, and block while aiming for 75% elemental caps.
How do I manage soul mechanics in Draven and Asinia encounters?
Drifting souls pull toward the boss—destroy them away from the four arena graves to prevent Eternal Knight spawns (they reflect projectiles while blocking and revive near soul deaths). Limit Draven's absorbs to avoid his speed/power empower; deny Asinia's to skip massive mortar explosions covering the arena. Prioritize souls over everything—melee them if needed.
What's the best strategy for Crowbell's enrage phase?
From 85% to 45% health, Crowbell enrages (higher damage) across the first arena shift—commit fully to dodge rolls on Leap Slams, frontal Slams, and the 50% roaring multi-slam combo. Enrage drops at 45% when it grabs the bell and transitions arenas. Stay aggressive but patient; second arena adds Bell Swings at 25%.
How do King in the Mists' rituals change between phases?
Yes—both red (Meditation: limit movement to dodge only, or 4s/8s root-stun) and purple (Dance: constant motion, or same penalty) marks intensify in Phase 2 (8s duration vs. Phase 1's 4s). Phase 1 adds fragile affliction totems (burst for escalating DoT); Phase 2 brings bug swarms/orbs. Hug edges, prioritize totems.
Ritual Mark | Phase 1 Duration | Phase 2 Duration | Survival Rule |
|---|---|---|---|
Red (Meditation) | 4s | 8s | Minimal steps |
Purple (Dance) | 4s | 8s | Always moving |
How can I dodge one-shots from Brambleghast and Lachlann?
For Brambleghast's Volatile Slam (arms plant + roar), burst sideways from purple vine telegraphs—chaos nuke can one-shot undergeared toons. Lachlann's Sunder (mace ground slam) expands a deadly forward cone; roll perpendicular on red flash. Pump chaos/cold resists (75%+), use movement flasks, and watch animations closely.
What unique reward drops from King in the Mists?
Gembloom Skull: Right-click for permanent +30 maximum Spirit (key for skill costs/gem buffs) plus a Level 4 uncut Spirit Gem. Essential early-game pickup—check drops post-Phase 2 carefully.
Can Devourer's burrowed body segments block its attacks?
Yes—perfectly! After 80% burrow cycles (4x, outer ring), use shed segments as shields for 75% Eruption poison clusters and larva spits. Time hides for Tail Sunder eruptions too; oldest segment spawns the tail.
Any pro tips for Count Geonor's Phase 2 fog phase?
Audio is crucial: Fog (cold DoT) summons werewolves and hides Geonor—each finished poem line cues a leap attack. Preemptively roll toward audio direction amid adds. Sidestep moonbeams (Corrupted Blood stacks), find gaps in frost patch spikes, and burst through Freezing Fog.
Thanks for Reading
Stay tuned to MMOJUGG for ongoing Fate of the Vaal League updates, PoE2 0.4.0 patch breakdowns, and build optimizations to dominate Wraeclast.
You may also like: Optimize your endgame progression and currency farming for maximum efficiency.
Looking for more Path of Exile 2 Guides?
Get exclusive insights into Leagues, Act Bosses, Economy, Crafting and Endgame Progression—all in our comprehensive PoE2 hub.
👉 Visit Our Fate of the Vaal Guide Hub Buy PoE2 Currency
 PoE2 Boosting