Path of Exile 2 Act 4 Boss Complete Mastery Guide
Last updated on December 10, 2025 by MMOJUGG Team | Game: Path of Exile 2 Guide | Tags: Fate of the Vaal
Path of Exile 2 ramps up the intensity in Act 4 (First Released at Patch 0.3.0), turning boss fights into thrilling tests of timing, positioning, and build synergy. Whether you're sailing the Karui Archipelago or delving into ancient ruins during the Fate of the Vaal League in version 0.4.0, The Last of the Druids, these encounters demand sharp reflexes—especially for red-glowing telegraphed attacks that require precise dodges.
If you're gearing up for smoother runs, why not bookmark this page for your next campaign push and swing by our Path of Exile 2 Shop to stock Divine Orbs, Exalted Orbs, crafting currencies, rare items, uniques, and beyond? Let's dive into the strategies that will carry you through.
Path of Exile 2 Boss Mastery Guides
To assist Exiles in successfully advancing across the new continent of Wraeclast, we have compiled essential Boss Mastery Guides for every Act and Interlude in Path of Exile 2. Below is the complete list of Boss Mastery Guides:
Act 1 Boss | Act 2 Boss | Act 3 Boss | Act 4 Boss | Ogham Interlude | Kriar Interlude | Vastiri Interlude
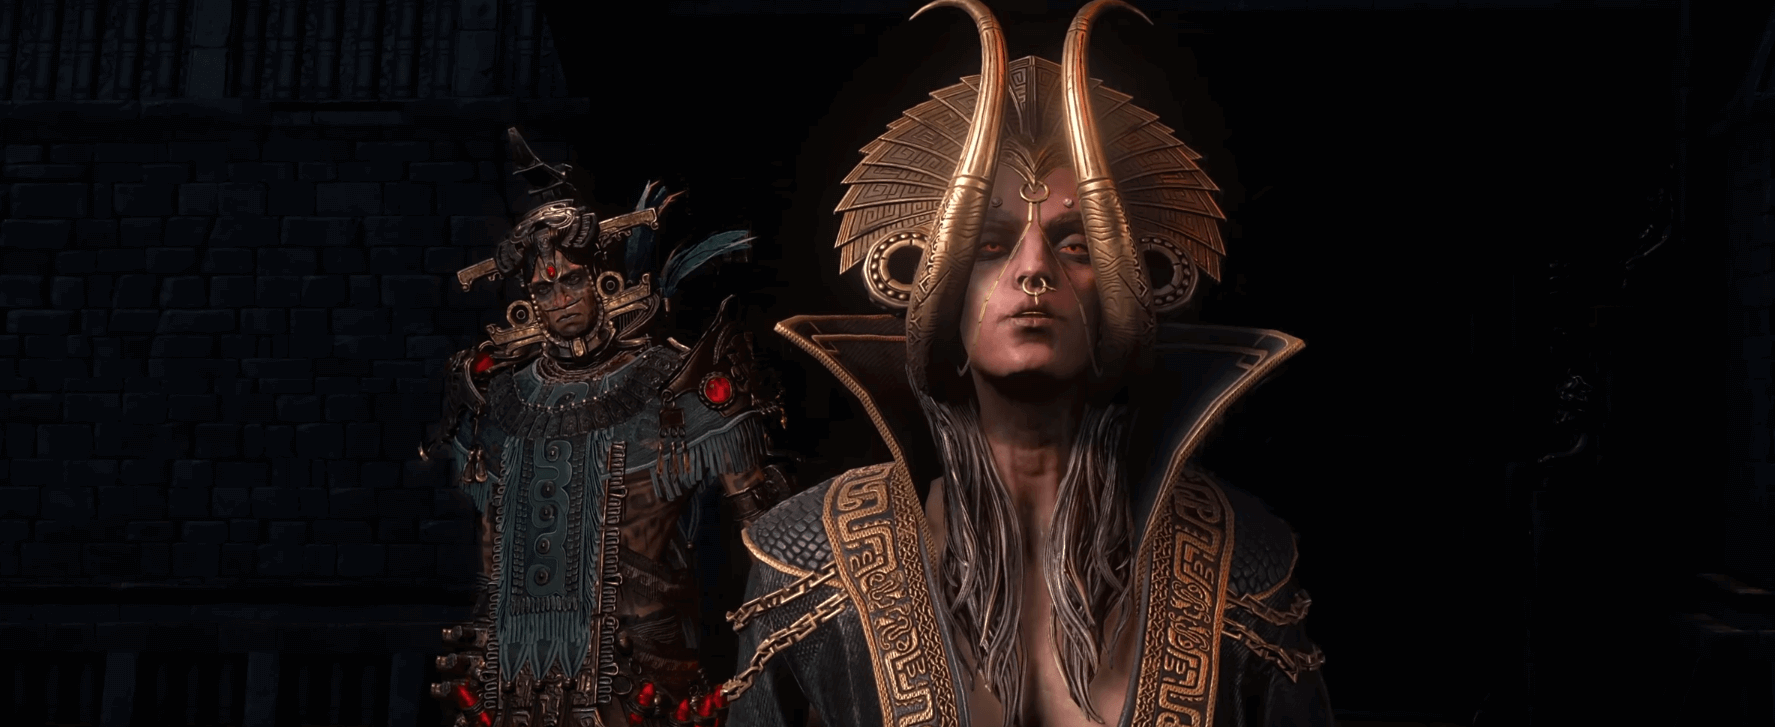
Path of Exile 2 Act 4 Boss Overview
Boss Name | Location | Key Tips |
|---|---|---|
The Blind Beast | Isle of Kin | Maintain mid-range; dodge raging combo at 75% and sidestep Voltaxic Sulphite pools (Phys/Lightning DoT). |
Krutog, Lord of Kin | Volcanic Warrens | Kite stomps/slams; post-80% avoid upgraded erupting march, vomit pools, and cone sneezes—stack Lightning Resistance. |
Captain Hartlin | Journey's End | Circle clockwise during cannon barrage; dodge spectral anchor circles; clear summoned skeletons quickly; track spirit mortars at 80%. |
Scourge of the Skies | Shrike Island | Avoid blood DoT pools from head slams; constant dodge-roll mortars; kill Plagueling add at 75% (retreats at 50% HP). |
Great White One | Whakapanu Island | Roll through bite-tail combos; evade sand dive piranha pools (x4); at 85%, dodge random tornadoes scattering more pools. |
Diamora, Song of Death | Singing Caverns | Dodge tidal waves and tracking bubbles; cluster geyser trails; in intermissions (65%/35%), avoid petrify gaze/reflections and clear adds. |
The Prisoner | Solitary Confinement | Phase 1: kite dashes; use ballista at 50% to stop regen; Phase 2: outrun expanding frost circles; dodge blood tendrils at 20%. |
Torvian, Hand of the Saviour | Arastas | Bait Torvian's rock tosses to interrupt scaffold mages (watch buff icons); avoid holy walls (crit debuff); evade axe bomb at 25%. |
Benedictus, First Herald of Utopia | The Excavation | Center then flee earth eruption circles (75%); dodge double boulder slams (65%); avoid proximity-exploding lightning pillars; weave walls post-60%. |
Yama the White | Halls of the Dead | Weave blight/Soulrend cones (Chaos DoT); find real Yama via pillar slams (75%); run to circled clone before it explodes (65%); Drops Silver Coin for 2 passives. |
Tavakai, The Chieftain | Heart of the Tribe | Position away from unwanted god totems (all phases); dodge kunai pull/hulking slam (P1), spike circles (P2 75%), all attacks + gods (P3). |
Overpower the Blind Beast on Isle of Kin
This hulking brute in the Isle of Kin unleashes physical and lightning havoc right from the start. Stay mobile to avoid its sweeping melee strikes when close and leaps when you pull back.
Ability | Health Threshold | Dodge Required? | Key Tip |
|---|---|---|---|
Sweeps & Leaps | All fight | No | Circle-strafe to maintain distance |
Ground Slam Spin | All fight | No | Back off during wind-up |
Raging Combo | 75% | Yes | Roar signals four slams spawning lingering Voltaxic Sulphite pools—weave through edges. |
At 75% health, brace for the raging combo: a roar precedes four rapid slams that fracture the ground into Voltaxic Sulphite pools. These linger, inflicting physical and lightning damage over time (DoT), so weave through the arena edges while chipping away.
Tame Krutog, Lord of Kin in Volcanic Warrens
Krutog mirrors the Blind Beast's physical and lightning profile in Volcanic Warrens, pounding with club overheads and hurling severed limbs from afar.
Ability | Health Threshold | Dodge Required? | Key Tip |
|---|---|---|---|
Stomping March | All fight | No | Sidestep stomps |
Combo Slam | All fight | No | Roll behind after second slam |
Erupting March | 80% | No | Small bursts on steps—keep moving |
Voltaxic Vomit/Sneeze | 80% | No | Avoid central pool and cone ahead |
Dropping to 80% health, he devours Voltaxic Sulphite, upgrading his march with eruptions and adding vomit pools plus cone sneezes of the corrosive stuff. Prioritize lightning resistance and flask timing to endure the DoT fields.
Outmaneuver Captain Hartlin at Journey's End
Captain Hartlin's shipwrecked fury blends physical, cold, and fire in Journey's End. Melee brings cannon/anchor slams; ranged triggers slow waves.
Ability | Health Threshold | Dodge Required? | Key Tip |
|---|---|---|---|
Cannon Barrage | All fight | No | Circle clockwise from spectral cannons |
Spectral Anchor | All fight | Yes | Flee marked circle immediately |
Summon Skeletons | All fight | No | Clear adds quickly to prevent swarm |
Spirit Barrage | 80% | No | Mortars track—keep rolling |
Spectral anchors demand dodges on marked circles, and barrages fire sequentially from a player-ringed cannon circle. At 80%, green-glowing wheel spins unleash tracking spirit mortars. Kite skeletons and prioritize mobility.
Survive Scourge of the Skies on Shrike Island
This avian terror on Shrike Island sticks to physical damage. Back sweeps from behind lob blood projectiles; head slams (dodge cue) spawn lingering blood pools for DoT.
Ability | Health Threshold | Dodge Required? | Key Tip |
|---|---|---|---|
Head Slam | All fight | Yes | Evade to dodge blood pool DoT |
Beak Spikes | All fight | No | Spiral eruptions cause bleed/maim (slow debuff) |
Spawn Plagueling | 75% | No | Add rushes; reduce to 50% HP to force retreat |
Blood Mortars | 75% | No | Constant motion/dodge-roll |
Blood barrages rain down, beak spikes spiral and erupt (bleed/maim debuff), and at 75%, it summons a fast-attacking Plagueling add and mortars blood—dodge-roll relentlessly.
Bury the Great White One on Whakapanu Island
Whakapanu Island's shark lord delivers pure physical punishment via lunging bites and combos.
Ability | Health Threshold | Dodge Required? | Key Tip |
|---|---|---|---|
Bite-Swipe-Tail Combo | All fight | No | Roll through tail |
Sand Dive | All fight | No | Predict track; avoid piranha pools DoT |
Tornado Dive | 85% | No | Three random tornadoes + piranhas—hug walls |
At 85%, tornado dives summon dust circles, birthing three wandering tornadoes hurling piranhas. Hug arena walls to minimize pool coverage.
Silence Diamora, Song of Death in Singing Caverns
The donut-shaped Singing Caverns arena suits Diamora's physical/cold arsenal.
Ability | Health Threshold | Dodge Required? | Key Tip |
|---|---|---|---|
Tidal Waves | All fight | Yes | Roll between waves crashing inward |
Whirling Dives | All fight | No | Cluster geyser trails for safe space |
Water Bubble | 70% | Yes | Flee tracking bubble |
Minion Intermission | 65%/35% | No | Avoid gaze/reflections (petrify stacks); kill adds |
Intermissions at 65%/35%: she spins centrally, gazing petrifies (5 stacks = 4s stun); reflections on outer walls stack too; clear adds quickly.
Break Free from the Prisoner in Solitary Confinement
Solitary Confinement's two-phase Prisoner mixes physical/cold.
Phase/Ability | Threshold | Dodge Required? | Key Tip |
|---|---|---|---|
Phase 1 Regen Stop | 50% | No | Immediately use nearby ballista to halt regen |
Frost Slam | 85% | No | Clear spikes pre-explode |
Phase 2 Frost Circles | All P2 | No | Outrun expanding frost circles |
Blood Tendrils | 20% | Yes | Dodge twice post-ballista |
Immediately interact with the nearby ballista to stagger and halt regen—missing this prolongs the fight significantly.
Disrupt Torvian, Hand of the Saviour in Arastas
Arastas' Torvian wields physical/fire (freeze build-up, no cold damage).
Three scaffold mages channel buffs. Bait Torvian's rock toss to bases to interrupt the mages.
Buff Icon | Effect | Key Counter |
|---|---|---|
Crossed Swords | Combo Slashes (Range + Sigil) | Rock toss scaffold |
Shield | Leap (Holy walls - Crit Vuln debuff) | Rock toss scaffold |
Holy Symbol | Axe Toss (4x wall bounces tracking) | Rock toss scaffold |
At all buffs/25%: axe bomb (dodge)—double axe holy eruptions. 25%: counterclockwise holy beam (fire DoT). Prioritize interrupting all three mages.
Shatter Benedictus, First Herald of Utopia in the Excavation
Benedictus in the Excavation pairs physical/lightning.
Ability | Health Threshold | Dodge Required? | Key Tip |
|---|---|---|---|
Earth Eruption | 75% | No | Center for inner, flee outer circles |
Boulder Slam | 65% | Yes | Dodged twice over player location |
Lightning Pillars | 65% | No | Avoid proximity-exploding pillars (x3) |
Arena Shrink | 60% | No | Dash edges; weave through 5 walls of earth |
75%: channeled eruptions form/destroy circles—center then out. 65%: double boulder slams (dodge), lightning-infused boulders slamming/exploding. 60%: pillars shrink arena; eruptions become 5 walls to weave.
Unmask Yama the White in Halls of the Dead
Halls of the Dead host Yama's physical/chaos via staff swipes, Soulrend cone projectiles (chaos DoT debuff), exploding caustic sigils.
Ability | Health Threshold | Dodge Required? | Key Tip |
|---|---|---|---|
Soulrend | All fight | No | Cone Chaos DoT |
Monkey Business | 75% | No | Pillar slams; real one second-slams/teleports—find the real Yama |
Premonition | 65% | No | Run to the circled clone before time-freeze clones explode |
75%: clones on pillars (find real via proximity slam). 65%: time-freeze sends exploding clones—reach the circled one. Defeat drops Silver Coin for Trail of the Ancestors (2 passive points).
Triumph Over Tavakai the Chieftain in Heart of the Tribe
Heart of the Tribe's three-phase Tavakai escalates physical/cold/fire/lightning. Totems invoke Karui gods randomly (positioning matters).
Phase 1 & 2 Key Dodges:
Phase | Key Dodge Moves | Threshold | Key Danger |
|---|---|---|---|
P1 | Kunai Pull/Hulking Slam | 95% / 80% | Jade copies explode |
P2 (Fallen) | Growing Spike Circles | 75% | Must dodge spiral finale |
P3 (Consumed) | Fiery Spiked Sunders | Post-15% | All attacks + random god effects |
Karui God Powers (Proximity-Based Effects):
God Power | Effect | Counter/Tip |
|---|---|---|
Kitava | Thirst (Heals Tavakai on hit) | Avoid totem! Reduce DPS window. |
Tawhoa | Vines (Damage Reduction debuff) | Avoid totem! Increase damage intake. |
Ngamahu | Volcano/Rain | Elemental DoT/AoE |
Rongokurai | Shadow/Chill Pool | Chill/Slow |
Ramako | Orb/Burn/Implode | Fire DoT/Explosive |
Arohongui/Tasalio/Valako | Beam, Rain, Storm | Elemental damage/Scorch Ground |
Stack resists across elements and position yourself away from unwanted god totems (especially Kitava and Tawhoa).
FAQs on Path of Exile 2 Act 4 Bosses
What damage types does the Blind Beast deal?
The Blind Beast primarily inflicts Physical and Lightning damage through sweeps, leaps, and slams. At 75% health, its raging combo unleashes four slams that spawn lingering Voltaxic Sulphite pools, dealing physical and lightning damage over time (DoT). Stack lightning resistance above 75% and physical mitigation; always circle-strafe the pools' edges to minimize exposure.
How do you interrupt Torvian's mage buffs?
Position yourself near the wooden scaffolds holding the three mages above the arena. Bait Torvian's rock toss by standing at the scaffold base—the boulder will interrupt their channels. Watch icons under his health bar: crossed swords for combo slashes, shield for leap, holy symbol for axe toss. Prioritize interrupting all three to prevent deadly upgrades like tracking axes or crit-vulnerable holy walls.
What's the Silver Coin from Yama for?
Defeating Yama the White drops a Silver Coin. Exchange it at the Trail of the Ancestors for 2 passive skill points, a huge early boost. Time your run to this optional boss after clearing nearby zones for smoother progression.
Which Tavakai phase has god totem powers?
Karui god powers trigger throughout all three phases based on proximity to totems—position wisely to avoid debuffs like Kitava's Thirst (heals Tavakai on hit) or Tawhoa's vines (damage reduction). Phase 3 escalates danger, as every dodge-required attack randomly invokes a god power alongside fiery spikes and sunders. Flask for elemental ailments and maintain distance from unwanted totems.
How to handle Diamora's intermission?
At 65% and 35% health, Diamora triggers a minion intermission: she spins centrally in the donut arena, her gaze applying petrification stacks (5 stacks = 4s stun). Avoid her gaze and outer wall reflections (also stack petrify). Clear spawning minions quickly; at 35%, dodge rotating drowning bubbles. Hug the safe gaze-free section and prioritize adds.
Does the Prisoner regenerate health?
Yes, the Prisoner regenerates at 50% (transition to Phase 2) and 20% (gains blood tendrils). Immediately interact with the nearby ballista to stagger and halt regen—missing this prolongs the fight significantly. Phase 2 adds expanding frost circles; outrun them while dodging tendrils.
What debuff do Scourge of the Skies' beak spikes apply?
Beak spikes erupt in a spiral pattern, inflicting bleed and a 30% movement speed slow maim debuff on hit. Position to avoid eruptions entirely; at 75%, it also spawns a fast Plagueling add—reduce it to 50% HP to force retreat, preventing extra pressure.
Captain Hartlin's spectral anchor—how to dodge?
When Hartlin raises his anchor, a circle marks your location—immediately run out before the spectral anchor slams down for massive damage. Combine with clockwise circling during cannon barrages and quick skeleton clears from summons; at 80%, dodge tracking spirit mortars.
Thanks for Reading
With Path of Exile 2's 0.4.0 The Last of the Druids launching alongside the Fate of the Vaal League, keep an eye on MMOJUGG for fresh strategies, Druid builds, and league mechanic breakdowns to dominate the new content.
You may also like: Essential tools, trading helpers, and current meta breakdowns to stay ahead.
Path of Building 2 Guide: Master PoE 2 Builds & Theorycrafting
Top 3 PoE2 Trading Overlays: Best Price Checkers & Trade Tools
PoE 2 Fate of the Vaal Class Ascendancy Meta - Pathfinder & Druids Dominate
Looking for more Path of Exile 2 Guides?
Get exclusive insights into Leagues, Act Bosses, Economy, Crafting and Endgame Progression—all in our comprehensive PoE2 hub.
👉 Visit Our Fate of the Vaal Guide Hub Buy PoE2 Currency
 PoE2 Boosting