Path of Exile 2 Kriar Interlude Boss Mastery Guide
Last updated on December 10, 2025 by MMOJUGG Team | Game: Path of Exile 2 Guide | Tags: Fate of the Vaal
In Path of Exile 2's 0.4.0 update, The Last of the Druids, the Fate of the Vaal League brings intense interlude encounters after Act 4 that emphasize skillful movement and boss pattern recognition. Keep an eye out for red visual flashes paired with sharp audio warnings—these signal attacks you absolutely must evade to survive.
Whether you're pushing through your first campaign clear or refining your ladder climb, having these breakdowns handy can make all the difference. Consider bookmarking this page for easy access during your runs, and swing by our Path of Exile 2 Shop to stock up on Divine Orbs, Exalted Orbs, crafting currency, rare items, uniques, and more to fuel your progress.
Path of Exile 2 Boss Mastery Guides
To assist Exiles in successfully advancing across the new continent of Wraeclast, we have compiled essential Boss Mastery Guides for every Act and Interlude in Path of Exile 2. Below is the complete list of Boss Mastery Guides:
Act 1 Boss | Act 2 Boss | Act 3 Boss | Act 4 Boss | Ogham Interlude | Kriar Interlude | Vastiri Interlude
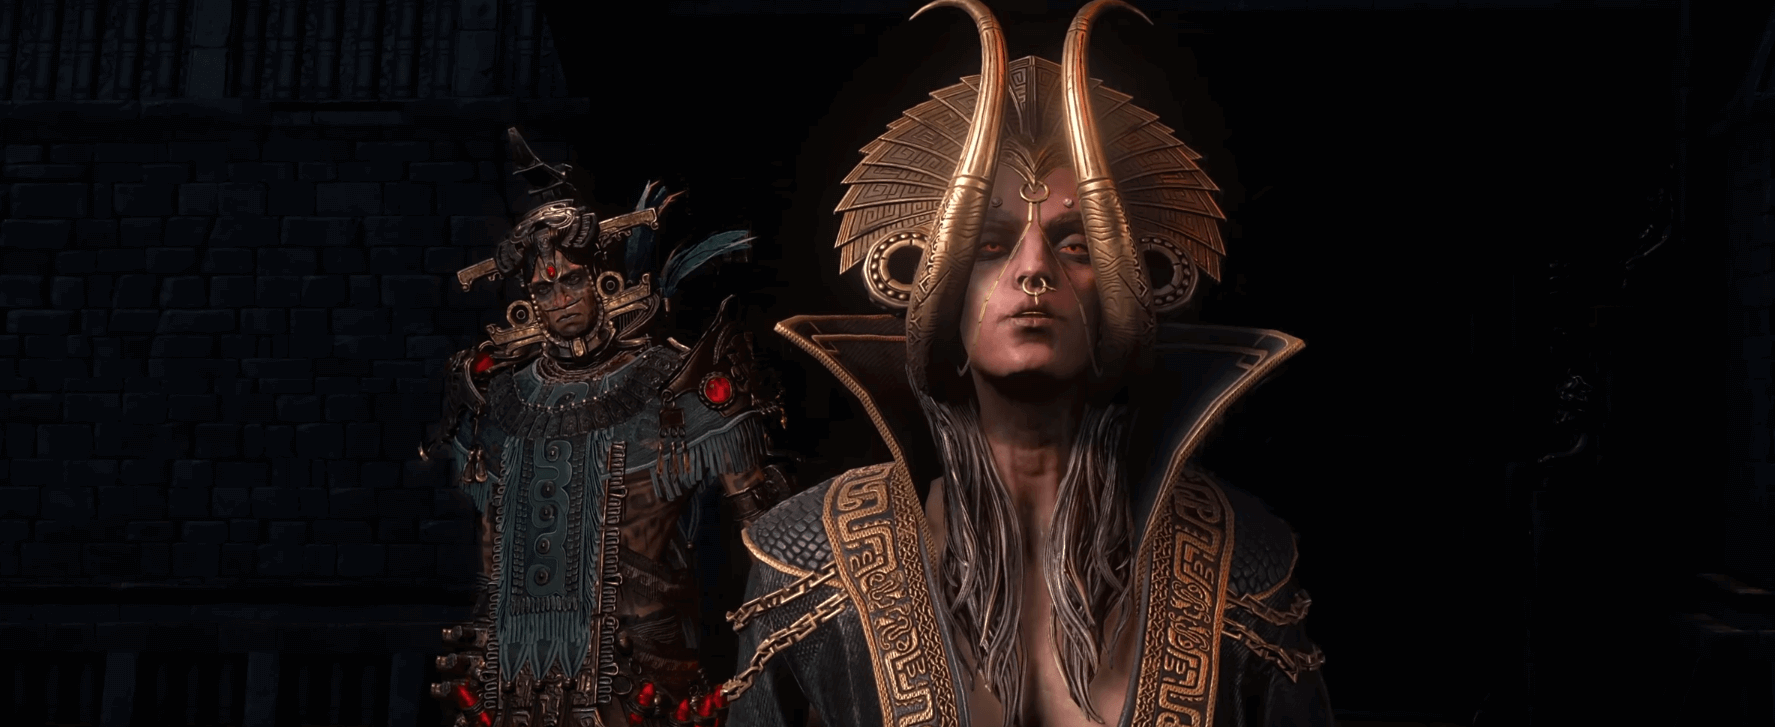
Path of Exile 2 Kriar Interlude Bosses Overview
Boss Name | Location | Tips |
|---|---|---|
Lythara, the Wayward Spear | Kriar Village | Physical/Chaos damage. Dodge Serpent Strike on thrust. At 50% HP, destroy north/south wisps before they buff her. Prioritize chaos resistance and positioning away from wall-reflected Chaos Throw storms. |
Rakkar, the Frozen Talon | Glacial Tarn | Physical/Cold damage. Dodge Dive Bomb from off-screen. At 70% HP, predict Ice Armor spikes via ground cracks; circle-strafe Wind Bursts after teleport. Freeze immunity essential. |
The Abominable Yeti | Howling Caves | Physical/Cold damage. Sidestep linear Sunder cracks and chained combos. Dodge rolling leap. Maintain mobility to avoid pillar sweeps. |
Stormgore, the Guardian | Etched Ravine | Physical/Lightning damage. Clear awakening machines as HP drops. For 65% Slam Combo, circle first two then roll final; outrange or circle 50% Lightning Frenzy. |
Zelina, Blood Priestess & Zolin, Blood Priest | The Cuachic Vault | Physical/Fire/Lightning. Stay out of Zelina's 50% Blood Circle to avoid teleports; weave Zolin's altar lightning beams, Fire Breath, and Blood Bending volleys. Zelina leeches life; Zolin siphons her. |
Conquering Spear-Wielding Fury in Kriar Village
Lythara, the Wayward Spear, deals primarily physical and chaos damage, making chaos resistance and recovery key for sustaining through her relentless pressure. She maintains a consistent rotation of close-range threats from start to finish: chains of wide sweeps and heavy overhead slams with her spear, plus sudden lunging thrusts that close gaps quickly.
Her standout dangers include a charged spear projectile infused with chaotic energy. Upon impact with you, minions, or walls, it fragments into three lightning arcs while spawning a rotating tempest that rhythmically ejects unpredictable chaos projectiles—watch walls closely, as boundary hits bounce the arcs inward for extra chaos. Another critical move charges her weapon with venom before thrusting forward, unleashing a duo of massive serpents in a forward wave (requires dodge—time your roll precisely on the thrust wind-up). She also backflips away while fanning out toxic bolts that spawn lingering poison hazards on landing.
Dropping to 50% health triggers wisp spawns at the arena's northern and southern edges. Prioritize shattering these orbs immediately, as contact with Lythara grants her dangerous empowerments that ramp up her output.
Attack Name | Key Features | Dodge Required? |
|---|---|---|
Spear Sweeps/Slams | Multi-hit melee chains | No |
Spear Lunge | Rapid forward dash | No |
Chaos Throw | Impact split + storm pulses (wall reflect) | Position only |
Serpent Strike | Dual serpent wave on thrust | Yes |
Viper's Disengage | Back-leap + bolt arc + poison pools | Sidestep |
Braving the Chill Assault in Howling Caves
The Abominable Yeti packs physical and cold damage, so layer cold mitigation and mobility to counter its terrain-altering aggression. Its core toolkit features powerful pillar sweeps that punish lingering in melee range.
Watch for the ground-cracking sunder: a forward pillar smash that ripples cold damage along a straight path from its position. It often chains this into combos, blending sweeps directly into the sunder for seamless follow-ups. The rolling leap crushes anything in its path, tumbling toward your location with high impact potential.
These patterns persist across the fight, intensifying at health milestones without fully new phases—just expect tighter timings as its speed builds.
Attack Name | Key Features | Dodge Required? |
|---|---|---|
Pillar Sweep | Wide horizontal clear | No |
Sunder | Linear ground rip + cold | Sidestep |
Combo Attack | Sweep into sunder | Evade chain |
Roll | Leaping tumble crush | Yes |
Mastering Aerial Ice Threats in Glacial Tarn
Rakkar, the Frozen Talon, focuses physical and cold harm, demanding strong aerial awareness and freeze immunity to navigate its dynamic arena control. Baseline melee sweeps keep you on your toes if you get too close.
Key abilities: swift repositioning dashes to reset positioning; a snowball that spirals outward while expanding in size; an off-screen leap culminating in a targeted crash (requires dodge—preempt the drop zone); and a fan of summoned shards launched in a wide frontal cone.
At 70% health, it gains ice armor—a protective shell that rhythmically erupts massive spikes arena-wide, accelerating and prolonging as its health dips (spot telltale cracks between pulses for safe footing). It also takes flight, reappears elsewhere, and unleashes a rapid quintet of homing wind bursts in your direction.
Attack Name | Key Features | Dodge Required? |
|---|---|---|
Melee Sweeps | Wing-based close hits | No |
Evasive Dash | Quick evade/reposition | No |
Snowball | Expanding spiral roll | Redirect to wall |
Dive Bomb | Off-screen aerial smash | Yes |
Ice Shards | 180° frontal barrage | Strafe |
Ice Armor | Pulsing arena spikes (70%) | Predict |
Wind Bursts | 5x tracking line (70%) | Circle |
Shattering the Lightning Guardian in Etched Ravine
Stormgore, the Guardian, wields physical and lightning damage, with surrounding automatons activating progressively as its health falls—clear them to reduce adds. Persistent moves: forceful shoves, broad axe swings, elevated slams, and a forward-leaning breath that sweeps electrified arcs.
Hitting 65% unlocks a delayed triple-slam sequence (circle-strafe the initial pair, roll the final); a bounding leap into ground pound; and an axe charged with breath lightning for a wide frontal cleave.
At 50%, expect a frenetic phase: it exhales a grounding lightning ring, extends chasing tendrils, and caps with an axe sweep (outrange or maintain circular motion to safety).
Attack Name | Key Features | Dodge Required? |
|---|---|---|
Shove/Swing | Repel + heavy melee | No |
Slam | Overhead drop | Sidestep |
Lightning Breath | Sweeping frontal arc | Backpedal |
Slam Combo (65%) | 3x with final delay | Circle + roll |
Leap Slam (65%) | Jump + impact | Evade landing |
Lightning Sweep (65%) | Imbued axe cleave | Strafe |
Lightning Frenzy (50%) | Ring + tendrils + sweep | Circle run |
Overpowering the Blood Ritual Duo in Cuachic Vault
Zelina, Blood Priestess, and Zolin, Blood Priest, combine for physical, fire, and lightning threats. Zelina sustains via life leech on hits; Zolin siphons her health for self-heal. Both retain core patterns throughout, escalating at thresholds.
Zelina: Melee punches up close; spinning blood whirl toward you; rapid three-claw flurry; paired energy-infused claw bursts; and a summoned colossal blood entity that slams a tight-radius zone (triggers only after you wound her).
Her 50% phase adds a vast crimson ground ring—avoid standing inside, or she'll phase behind for a barrage of backstabs.
Zolin: Ranged blood glob tosses; erratic arena dashes; self-sacrifice to energize the central altar, firing successive massive lightning lances across the field; temporary blood beast shift for linear fire exhale; spawning a creeping blood mire that lingers before fading; and self-impale to launch chasing triple salvos of blood shots.
Priest | Attack Name | Key Features | Dodge Required? |
|---|---|---|---|
Zelina | Punches | Close melee | No |
Zelina | Whirling Dash | Spinning rush | Sidestep |
Zelina | Combo Swipes | 3x claw sequence | Back off |
Zelina | Burst Claws | Dual energy waves | No |
Zelina | Blood Slam | Damage-triggered entity pound | Evade radius |
Zelina | Blood Circle (50%) | Trap ring + teleport stabs | Stay out |
Zolin | Blood Projectiles | Ranged globs | Dodge |
Zolin | Blood Dash | Arena mobility | Predict |
Zolin | Altar Lightning | Ritual beams barrage | Arena weave |
Zolin | Fire Breath | Beast form line | Sidestep |
Zolin | Living Blood | Mobile creeping pool | Avoid |
Zolin | Blood Bending | Self-stab 3x volleys | Weave |
FAQs About Path of Exile 2 Kriar Interlude Bosses
What primary damage types does Lythara deal?
Lythara primarily inflicts physical and chaos damage throughout the fight in Kriar Village. To survive her aggressive spear combos and special attacks like Chaos Throw, prioritize stacking at least 75% chaos resistance, alongside strong physical mitigation through armor or endurance charges. Focus on positioning away from arena walls to prevent reflected lightning bolts from her thrown spear, and maintain flasks for burst recovery during her poison phases.
How do wisps affect the Lythara fight?
At 50% health, colorful wisps spawn simultaneously in the north and south sections of the figure-eight arena. If Lythara touches them, she gains powerful buffs that massively increase her damage output and speed, often turning the fight unwinnable. Stay in one half of the arena to limit spawns to one wisp, then shatter it immediately with AoE skills or quick melee bursts before she reaches it—ranged builds should use projectiles to snipe from safety.
Which attacks always require a dodge in these encounters?
Lythara's Serpent Strike (poison-charged thrust unleashing two large serpents in a wave) and Rakkar's Dive Bomb (off-screen leap targeting your position) are marked by red flashes and audio cues—roll sideways precisely on the wind-up animation to evade. Practice timing in lower difficulties, as mistiming leads to massive physical/chaos or cold damage; pair with movement speed boots for safer repositioning.
What's the safest way to handle Stormgore's Slam Combo?
Unlocked at 65% health, this three-slam sequence has a deliberate delay on the final hit. Circle-strafe tightly around Stormgore for the first two overhead slams to stay in his safe inner radius, then roll dodge outward as he winds up the third. Lightning resistance (75%+) and clearing awakening machines early reduces add pressure, allowing focus on this pattern.
Do Zelina and Zolin have shared phases?
No synchronized phases occur; Zelina unlocks her deadly Blood Circle at 50% health (a large red zone that teleports her behind you for rapid stabs—stay outside at all costs), while Zolin continuously siphons Zelina's health for self-heals and uses independent abilities like altar lightning beams. Prioritize bursting Zelina first to cut off Zolin's sustain, using fire/lightning resists to weave through his Fire Breath and volleys.
How does the Abominable Yeti control the arena?
The Yeti dominates with linear Sunder cracks (pillar slam sending cold ripples forward), seamless sweep-to-Sunder combos, and rolling leaps that crush your position. Stay highly mobile, sidestep predictable lines, and avoid lingering in melee for pillar sweeps—cold resistance and chill immunity prevent slows from stacking into freezes.
What activates in Rakkar's lower health phase?
Below 70% health in Glacial Tarn, Rakkar gains Ice Armor (encasing shell pulsing arena-wide spikes—watch ground cracks between eruptions for safe spots, duration/speed ramps lower) and Wind Bursts (aerial teleport followed by five tracking air blasts in a line—circle perpendicular to evade). Freeze avoidance and aerial awareness are crucial.
Why do machines matter against Stormgore?
As Stormgore's health drops in Etched Ravine, dormant machines progressively activate, swarming with physical/lightning adds that interrupt DPS windows and amplify his Lightning Breath/Frenzy. Destroy them on spawn with cleave/AoE to maintain focus—lightning resistance helps survive their bursts while prioritizing the boss.
Thanks for Reading
Keep following MMOJUGG for the latest Path of Exile 2 strategies, league updates, and build insights to dominate Fate of the Vaal League.
You may also like: Essential tools, trading helpers, and current meta breakdowns to stay ahead.
Path of Building 2 Guide: Master PoE 2 Builds & Theorycrafting
Top 3 PoE2 Trading Overlays: Best Price Checkers & Trade Tools
PoE 2 Fate of the Vaal Class Ascendancy Meta - Pathfinder & Druids Dominate
Looking for more Path of Exile 2 Guides?
Get exclusive insights into Leagues, Act Bosses, Economy, Crafting and Endgame Progression—all in our comprehensive PoE2 hub.
👉 Visit Our Fate of the Vaal Guide Hub Buy PoE2 Currency
 PoE2 Boosting