Dune Awakening: Oct 21-27 2025 Deep Desert Guide
Last updated on October 25, 2025 by MMOJUGG Team | Game: Dune Awakening Guide | Tags: Deep Desert Weekly
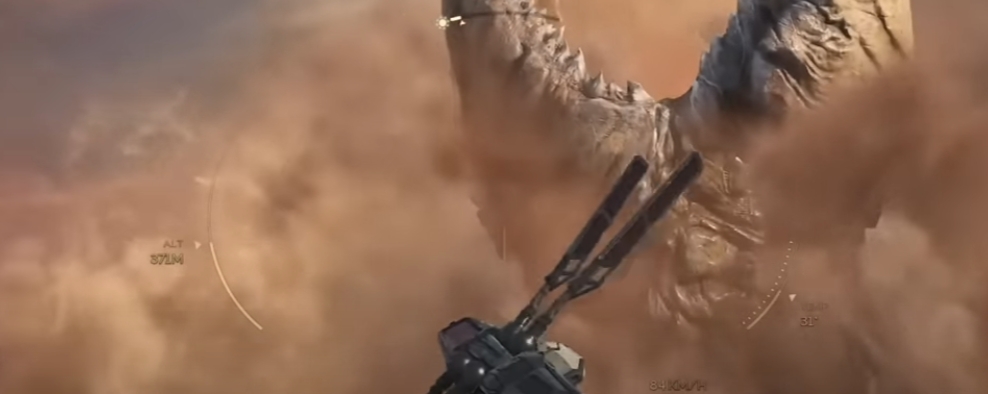
As the relentless winds of Arrakis carve new paths through the dunes, this week's Deep Desert map has freshly emerged, promising both peril and plenty for those bold enough to venture forth. Born from the fury of a recent Coriolis storm, this iteration of the map—centered around the vast expanse of the Shai-Hulud's domain—offers a rare equilibrium across its quadrants.
Whether you're a seasoned Fremen tactician or a newcomer testing the desert's edge, these insights will help you chart your course amid the spice-laden gales.
If the call of the sands stirs your spirit, why not pause to bookmark this page for your next raid? And while you're gathering your bearings, swing by our Dune Awakening Shop to stock up on essentials like Solari, Spice melange, crafting resources, vehicles, unique gear, schematics, and beyond—gear that could tip the scales in your favor out there.
Map Overview: A Masterclass in Balance
This week's map stands out for its thoughtful design, courtesy of the Funcom developers who've crafted something truly equitable. Unlike past layouts that favored one edge over another, every section here pulls its weight, inviting diverse playstyles from solo scavengers to full guild assaults.
I've divided it into three key zones—West, East, and Center—for streamlined planning. Each holds unique draws: spice blows, resource veins, and points of interest (POIs) that align with your goals, be it raw combat or quiet accumulation.
The overall layout encourages strategic base placement, with natural chokepoints and open expanses that reward foresight. As you plot your ornithopter's descent, remember the map's endgame dynamics—late-week rushes will intensify around high-value targets, so early positioning is your edge.
Western Quadrant: The PvP Crucible
If thrills and skirmishes are your elixir, the West side beckons as the undisputed arena this cycle. Three massive spice plumes dominate the horizon here, dwarfing the duo on the East and drawing swarms of rivals like moths to a flame.
But spice is just the appetizer: twin colossal nodes of Stravenium and Titanium gleam in sectors F3 and G3, packed with far more extractable yields than their Eastern counterparts. We're talking clusters that could sustain a fleet's upgrades for days.
Adding fuel to the frenzy, every Landsraad node clusters exclusively on this flank—no Eastern equivalents in sight—turning late-map control into a brutal tug-of-war. Aerial traffic will buzz relentlessly as players vie for dominance, but savvy builders can carve out defensible nooks in the E-row for quick hops to these riches.
Don't overlook the bounty of large shipwrecks peppering the PvP fringes; most hug the Western perimeter, spilling weapons caches that define endgame power. One outlier lurks near E5 for Central access, but the rest form a veritable graveyard of opportunity—and ambush.
A lone lab dots the zone for alchemical pursuits, yet expect queues and chaos. Stravenium, Titanium, and endless Landsraad veins round out the haul, but tread lightly: this quadrant is a congestion nightmare, primed for clashes over plumes, wrecks, and armaments. Base here only if you're armored for the storm.
Eastern Quadrant: Sanctuary for the Steadfast
Seeking respite from the melee? The East unfurls as a tranquil oasis, ideal for those prioritizing harvest over havoc. A solitary Landsraad beacon in I6 marks the lone PvP foothold, leaving the rest blissfully unclaimed.
Labs proliferate here, transforming the zone into a haven for experimental runs—perfect for delving into Imperial tech without constant interruptions.
Two generous spice plumes align neatly, anchoring prime real estate around E8. Flanking sectors E7 and E9 lie barren, so staking E8 early secures uncontested jumps to these blows and nearby Stravenium/Titanium deposits.
Though smaller than Western behemoths (roughly 109-119 nodes each), they're substantial enough for steady gains without the brawl.
This side's calm vibe suits base-builders aiming to evade the fray, offering quiet routes to resources and labs. It's the go-to for sustainable ops, where the desert's whisper trumps its roar.
Central Zone: The Equilibrium Edge
Straddling the divide, the Center—from the four-lane to seven-lane—embodies versatility, a mosaic of sprawling islands ripe for fortified outposts.
It grants balanced access: two shipwrecks for salvage divers, one spice plume for steady income, and a lab for variety. Wrapping bases around these landmasses positions you equidistant from Western heat and Eastern hush.
Yet equilibrium comes with caveats—this "Goldilocks" strip risks spillover from both sides. Western overflow could flood your lanes, while Eastern scouts probe for weaknesses.
Rate it medium alert: rewarding for omnivores chasing a mix, but vigilance is key amid the packed POIs.
Newcomer Essentials: Claiming Your First Intel
Venturing into the Deep Desert for the first time? Equip your ornithopter and touch down in the A-column without delay. Scour the Imperial testing stations here—they're a no-cost windfall of 180 intel points, jumpstarting your progression.
These unmissable starters ease the transition from Hagga Basin, arming you with knowledge before the real dunes test your mettle.
Loot Breakdown: Tailoring Your Hunt
Your quadrant choice hinges on desired spoils, so align bases with these loot archetypes.
PvP testing stations—concentrated West and East—yield elite defensive and utility gear: Holtzman's Pick, Power Harness, Carter Riser, Young Sparky, Adaptive Holtzman Shield, Dune Watcher, or the elusive Black Market K28 Lasgun. These drops fortify your survivor kit against the unforgiving wilds.
For offensive firepower, pivot Central toward large shipwrecks, which dispense weapons like the Perforator, Replica Pulse Knife, Replica Pulse Sword, Shell Buster, or Disruptor Pistol.
Smaller wrecks scatter map-wide (many undiscovered), supplementing your runs.
PvP caves—two expected, uncharted—promise hidden gems; if you spot them, note coordinates for communal benefit.
This framework lets early planners lock in bases around macro rewards, sidestepping micro-hunts until patterns emerge.
FAQs on Dune Awakening Deep Desert This Week
How does this week's map differ from previous Deep Desert layouts?
This iteration excels in balance, with resources and POIs evenly distributed across quadrants, unlike past maps that skewed heavily to one side—making it more accessible for varied group sizes.
What's the best base spot for PvP avoidance?
The Eastern quadrant, particularly E8, offers calm access to two spice plumes and labs with minimal Landsraad contention, ideal for low-conflict farming.
Which resources are most abundant in the West?
Expect three large spice plumes, oversized Stravenium and Titanium nodes in F3/G3, all Landsraad points, and multiple large shipwrecks—perfect for high-yield PvP runs.
Can I get intel points easily as a beginner?
Absolutely—land in the A-column and complete the Imperial testing stations for a free 180 points, a quick boost before tackling main POIs.
What loot should I prioritize from shipwrecks?
Focus on weapons like the Perforator or Replica Pulse Sword from large wrecks in the Center; pair with PvP station drops for a balanced arsenal.
Thanks for Reading
As the week's sands settle, may your hauls be bountiful and your blades ever sharp. Keep an eye on MMOJUGG for the next dispatch from the deeps. 👉 [Explore our Dune: Awakening Ultimate Guides Hub Now]
 Buy Dune Awakening Solari
 Buy Dune Awakening Items
 Dune Awakening Boosting